Planning a Photoshoot Step 2: Prep Like the Best
After you have completed Step 1 of Planning a Photoshoot you can confidently begin preparing for the shoot. While gathering the gear and information you need may seem easy at first, it’s actually the most difficult (and the most often overlooked) thing to do well. Below are some tips to help you guarantee you’re producing some stellar photography with ease on the day of the shoot.
Create a Project Brief
Always confirm the project details and deliverables with the client before you do anything else. It is not uncommon to uncover unclear expectations or unspoken goals that could change the spoke of the project drastically. We recommend creating a Project Brief that outlines the details of the photoshoot for the client to sign. This helps align you and your client on your vision and how you’ll accomplish it.
Things to include in your Project Brief
Deliverables: What is the client getting? Literally- spell it out. 10 photos? 100 photos? How many revisions/edits do they get? Are you willing to digitally alter or photoshop something? Do they get the raw photos? Will there be B&W options? Are they optimizing for the web or are you? This is the most pivotal piece to communicate as clearly as possible.
Mood Board/Story Board: Words are important, but can mean different things to different people. This is a visual medium, so make sure your prep involves communicating your vision visually. A mood board is a great place to settle on style, color, wardrobe, and models. Switch to a storyboard when you are framing your shoot around a narrative.
Timeline: A timeline acts as a goalie to your email inbox, answering clients scheduling questions before they can hit “send”. Let me know ahead of time when they can expect what, and keep your word. This should include benchmarks to hit during pre-production and post production on both your and the client’s side. Do this right and you’ll have a satisfied customer every time.
Possible Hurdles: Call out the challenges so you can tackle them together. Worried about the weather? Note it down as a possible complication. Not sure about the wardrobe functionality? Note that you’ll be testing on set and may have to come up with alternate solutions. Doing this helps position the client and yourself on the same side against possible issues, instead of playing the blame game when things don’t go as planned.
Misc. Shoot Details: The more your client knows ahead of time the less likely they are to be surprised in a negative way at the end of your project. Make sure they know about possible expenses, any permitting or insurance factors, and their responsibilities during the project. An informed client is a happy client.
Use the Project Brief to Prep
Using the agreed upon vision and plan from the Project Brief to build the framework of your project prep will help let nothing slip through the cracks. “But isnt the rest of the prep work just charging batteries and clearing cards?” I can hear some of you wondering. In short- that’s actually the least of your concerns when prepping for a photoshoot.
Budget: This is something that, when not measured, can quickly grow out of hand. Everything costs money, and everything that does not cost money takes time (which costs money). Make sure that you have a good idea of the expenses of the shoot and who is responsible for providing the funds to cover any expenditures.
Production Schedule: Slightly different from the Project Timeline you created above, this Production Schedule will dictate when you are getting what shot, and all the things that are necessary to accomplish it. I could spend a lot of time detailing the components here, but instead just use this template (either as a reference, or literally just use it) to get you started.
Legal: Did you know that you’re not allowed to just take photos anywhere you want? Even if you “get away with it” and don’t get stopped in person, you could face big fines for not having the proper permitting or licenses when filming on location. Do your homework and figure this out before you spend a whole day shooting in a location you can’t release. On that note, make sure your release forms for on screen talent and liability insurance are taken care of as well. Safety breeds creativity!
Extra Vendors: Hair and makeup can make(up) or break a shoot. They are a great example of a small thing you can invest in to raise the value of your product exponentially. If the budget allows for it, a few extra experts in their crafts will be a great help to you on shoot day.
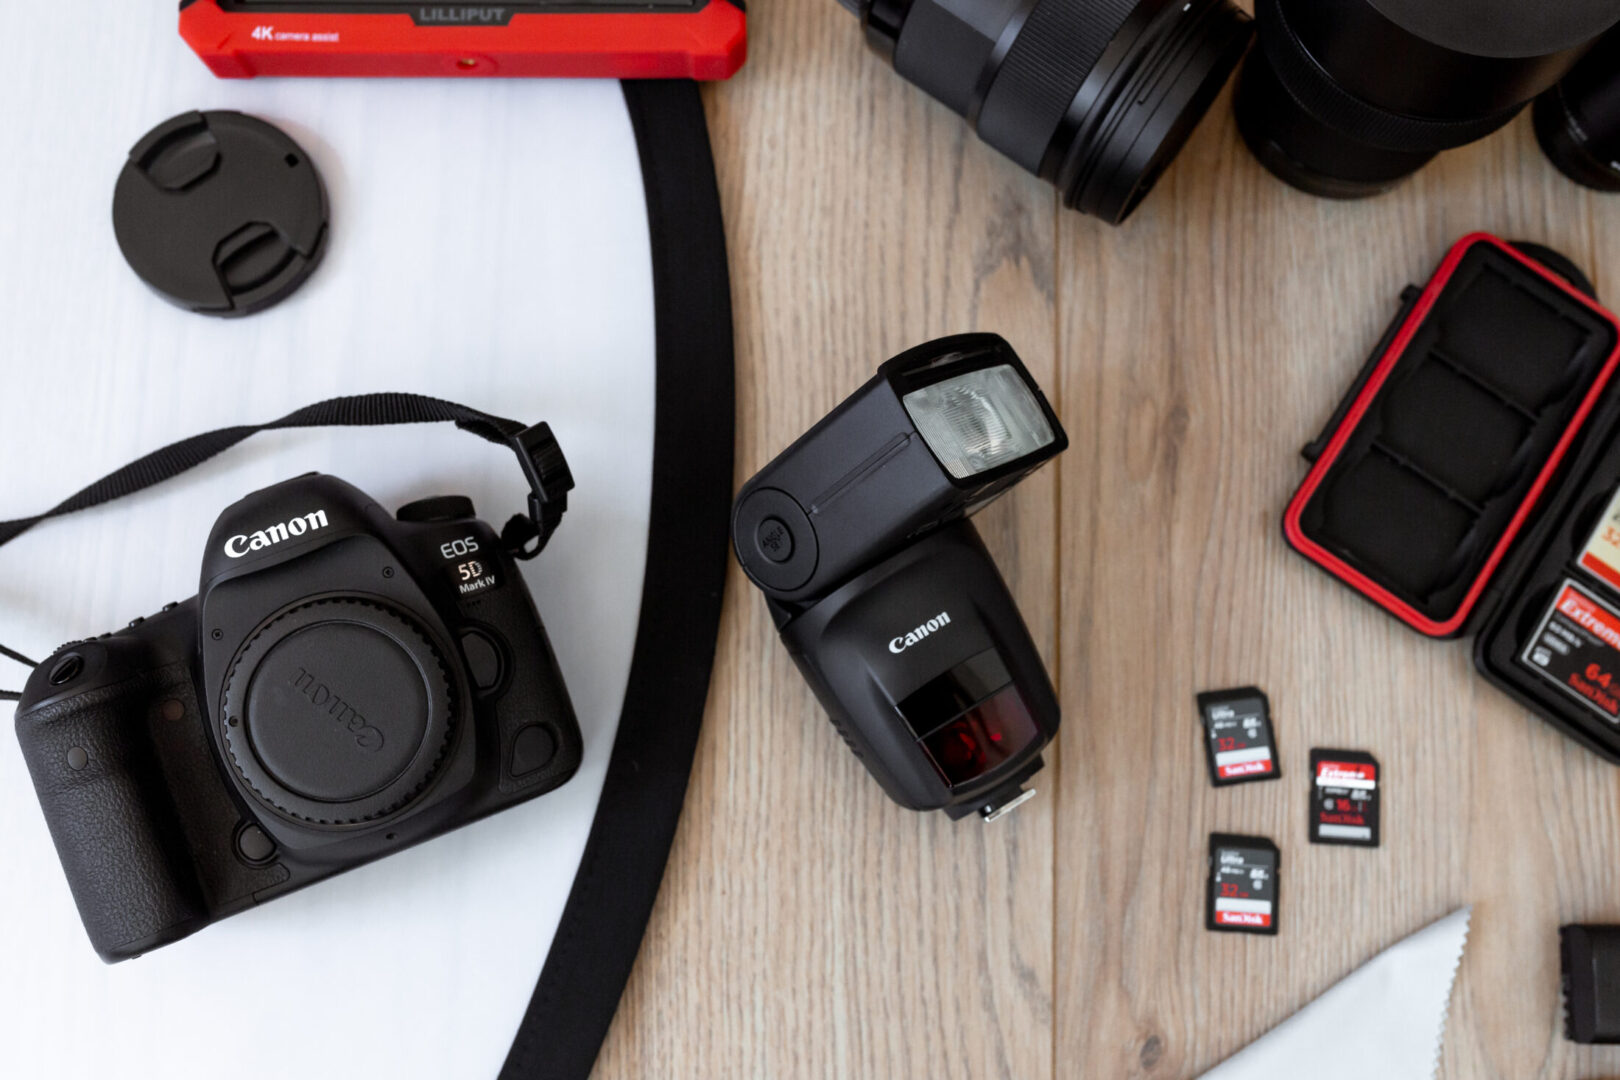
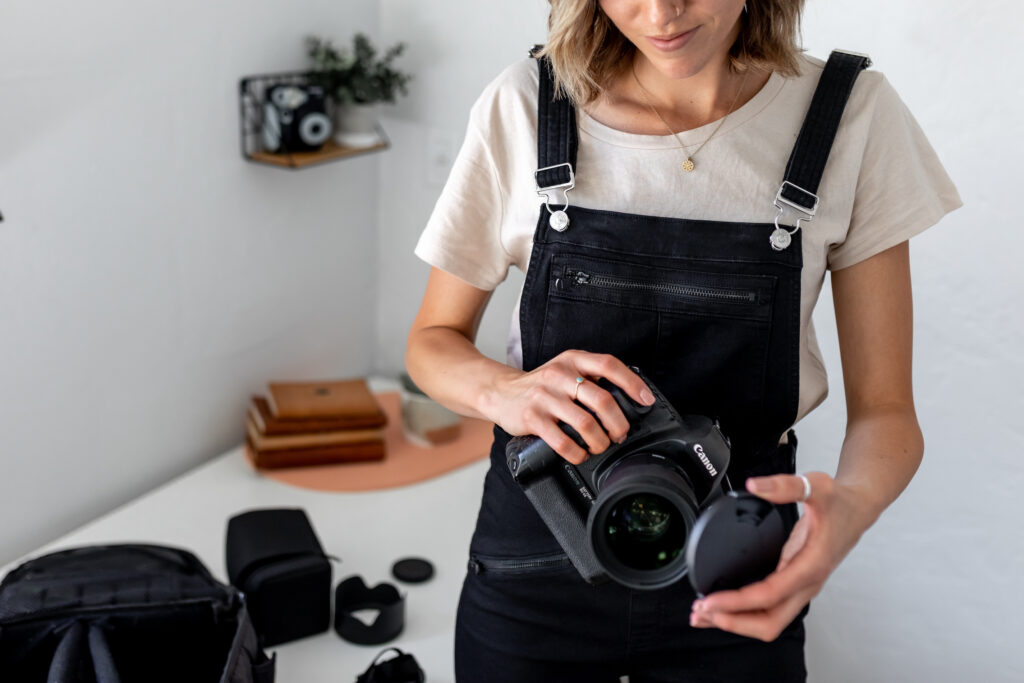
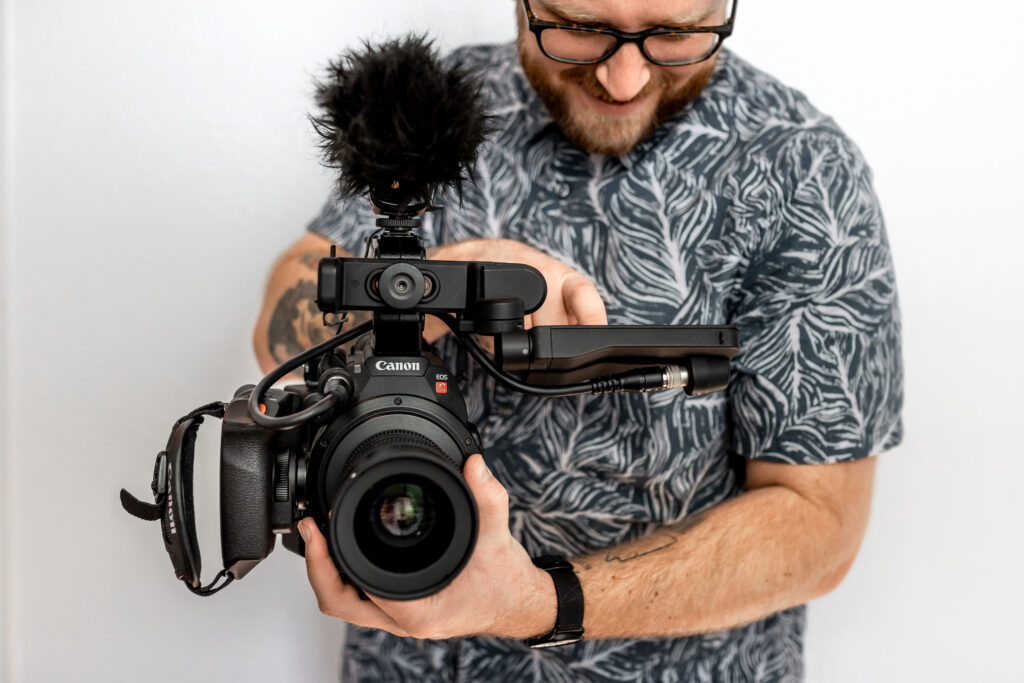
Gear Prep: As you probably guessed, you’ll need a camera. Of course you likely have your “camera kit” that you use for most shoots: your favorite camera body, 2-3 lenses, batteries, cards, etc. But what else could be added to this shoot in order to push it to the next level? A super wide lens? Underwater camera case? Car rig? While it’s great to familiarize yourself with your gear, don’t forget to keep introducing yourself to new gear and techniques. Below are some items you shouldn’t leave for a shoot without.
- 2 identical camera bodies with the same settings
- ND/UV Filters
- Small and Large Shaders
- Essentials hair/makeup/sewing kit
- LED Studio Light Kit
- A new gear item you’re trying out
- Charge Batteries and Clear Cards (I realize what I said earlier but this is still on the list)
- Batteries, AA, AAA, D, 9V
- Clamps (for positioning backdrops, props, etc)
- Printed Production Schedule and clipboard
- Water, Snacks (for everyone)
With all that done you can sleep easy the night before the photoshoot, the only thing you have left to do is… take the photos!